To add an item to a menu:
IMPORTANT: The item (article, component, etc.) that you want to link to must already be created. You cannot create a menu item for an item that doesn’t exist yet.
Once the item has been created, to add a menu item, go to ‘Menus’ and choose from the drop down the menu you want to add to.
Example: Menus, Main Menu. You will now see a list of the current menu items in the Main Menu.

Select ‘new’ on the right hand side menu. You will now see the New Menu Item page.

The first thing you need to do is click on ‘Select’ next to ‘Menu Item Type.’ Choose ‘Single Article’ from the list that pops up.

You will also need to fill in the menu title. This is how the menu item will display in the menu on the front end, so it should not be very long, as it will need to fit.
Once you choose ‘Single Article’ – the pop up will close and the right side of the page will refresh. You will now see an option at the top of the right hand side to select an article – click on ‘Select/Change.’ Choose the article from the list. If you have many articles, you may want to use the filter box at the top (enter part or all of the article title) to find your article.
There are several additional options on the New Menu Item page, which are largely self-explanatory. In the Parent Item: section, you can choose to create the menu item as a submenu of an existing item. A menu item for the religious school, for example, might be placed under the main menu item for Youth.
‘Access level’ allows you to restrict access to only registered site users, to custom groups, or to ‘special’ – which refers to users with the status of publisher or above. (See user management for more information about user types.)
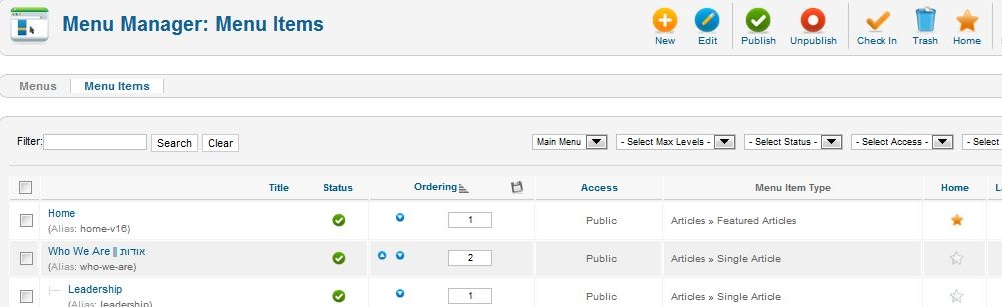
When you create a new menu item, it will be added as the last item in the menu. To change the order of the menu items, go to the Menu Item Manager. You will have two options for changing the order – the small blue up and down arrows allow you to move a menu item up or down one line at a time. After you click on an up or down arrow, the page will automatically refresh, and you will see the new position. This is fine for moving a menu item up or down one or two positions, but is less useful for moving a menu item from position 20 to position 2. Instead, you can enter a number in the ‘order column’ and then click the small disk icon next to the order column, to save your choice. To move a menu item ‘Activities’ from 20 to 2, for example, you would enter ‘2’ in the order column for ‘Activities’ and click on the disk icon to make the change. The page will now refresh, and you can view the new order, and make further changes as needed. The numbers do not need to be 1,2,3,4 – just know that the lower numbers are higher on the menu, and the higher numbers are lower on the menu.