You may have documents that you want to share among synagogue members or among Board Members or Staff Members.
In most cases, you will have Microsoft Word or PDF documents. Pictures are usually better suited for the Photo Gallery extension.
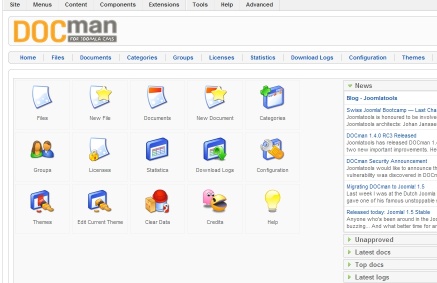
Login to the back end of the site. ‘Components’ ‘Docman’ ‘Home’

To begin, you will set up one or more categories. Choose categories, and add click ‘Add.’ Enter a category name and title (can be the same thing) and click save on the upper right hand corner.
Now click on ‘files,’ ‘upload.’ ‘Upload a file from your computer’ ‘Next’
Choose the file to upload: – click on ‘browse’ and locate the file on your own computer that you want to upload. After you select the file, click ‘submit’
When the file uploads successfully, you will see a message that says Success! – File has been uploaded.
The first option below that message is ‘Make a new document entry using this file.’ Click on the pencil/paper icon to create a new document using the file you have just uploaded.
Provide a name for the document,
IMPORTANT – you must select ‘approved’ and ‘published,’ or the document will not be visible on the front end of the website. You have the option of adding a short description of the file in the text editing box below.
Click save.
Repeat as needed to add multiple files/documents. Each file you upload needs to be associated with a ‘document.’
There are several ways to provide a link to your documents on the front end of the website. When you are editing an article, you can click on ‘doclink’ beneath the main editing box. A separate window will open that allows you to select an individual document to link to.
To create a link to a directory of documents, you will need to add a menu item. To add the link to the main menu, for example, go to ‘Menus’ ‘Main Menu’ ‘New.’ Select Menu Item Type ‘Docman.’ Choose a name for the menu link ‘Publications’ (for example). You can decide to limit access only to those logged into the website by selecting Access Level: Registered. Click save. You will now have a menu item that links to your directory of documents.
To have the menu link go to a particular Docman category, enter the Default Category ID in the Parameters (Basic) box when you are editing the menu item. You can find the category ids by going to Components, Docman, Categories and looking in the category id column.
The Docman extension offers many configuration options. If you want to explore, go to Docman Configuration. Some of the options you may want to change include which types of files can be uploaded, how long a document should be listed as ‘new,’ who can upload files (We recommend you keep this set to ‘publisher’), etc.